Three ways in
Pick a mode at the lower right of the screen. You can switch at any time without losing your place.
- Story follows one family from breakfast to a shuttle bound for Earth. Press Continue (or
Enter) to ride to the next stop, or pick a chapter from the atlas. The route has 16 chapters, listed on the journey page. - Explore is free movement. Walk the streets, fly up the sky, float down the spine and leave the hull. Open the atlas with
Mto jump to any of more than 100 saved viewpoints, or browse them on the scene atlas. - Engineer adds system overlays, a quality setting, render resolution, simulation speed, free-camera speed and live renderer figures. Choose an overlay to see labels in the scene and a short explanation in the panel.
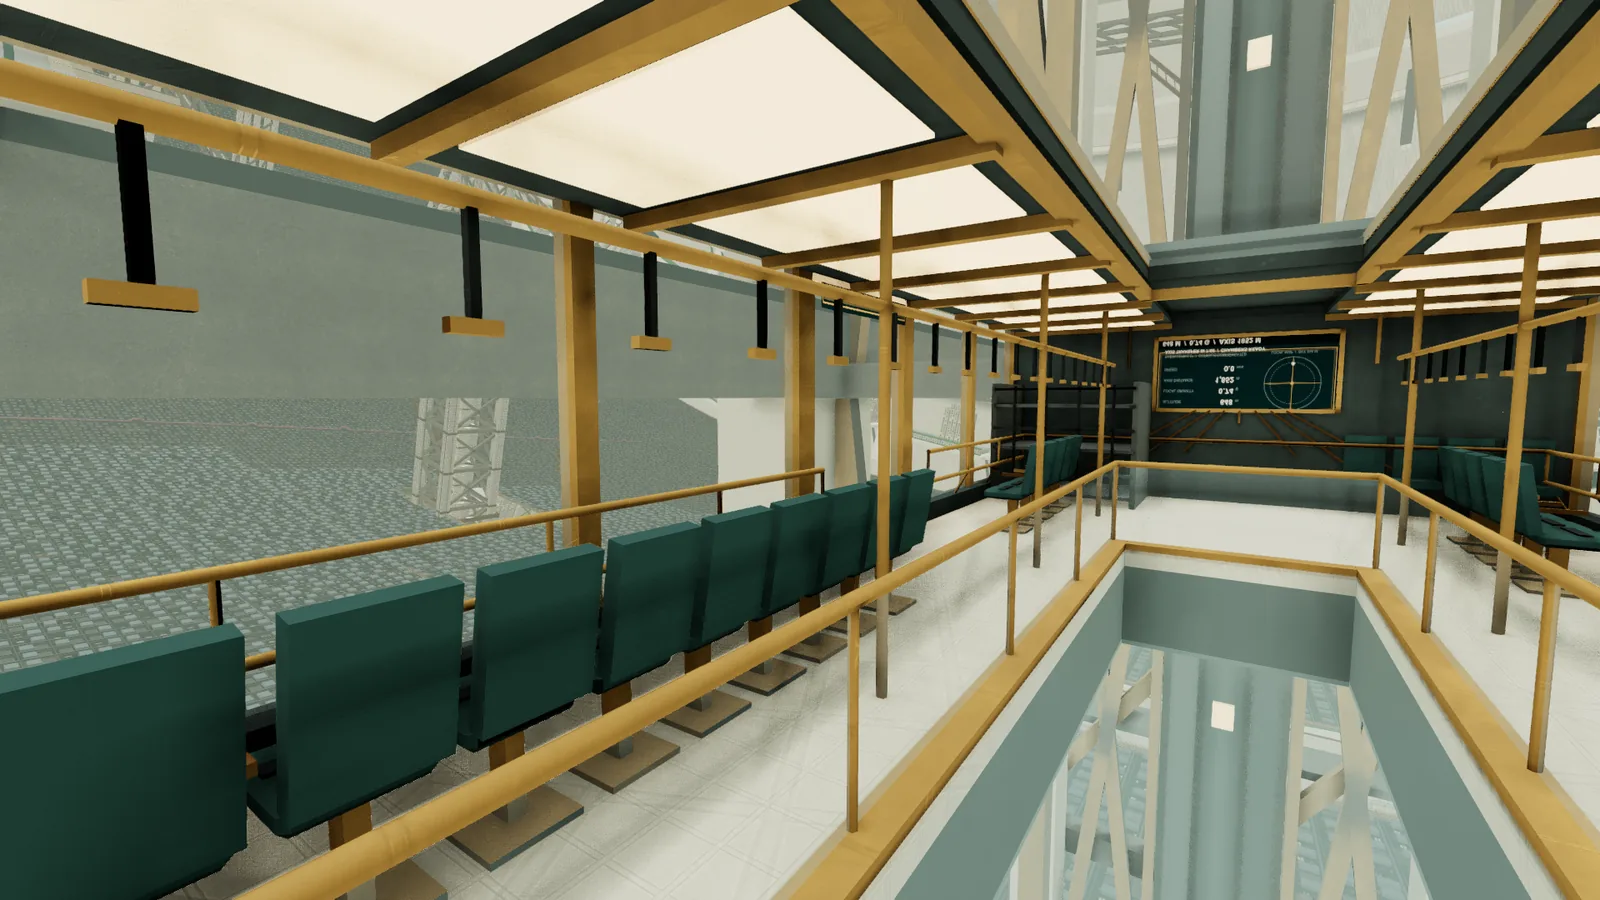
Moving around
Movement changes with where you are. On the rotor floor you walk. Anywhere else inside the station you fly. Outside the hull you are in space mode, where speed scales with distance. The screen shows the current mode and your speed.
| Input | What it does |
|---|---|
W S or Up Down |
Forward and back |
A D or Left Right |
Strafe |
Space or PageUp |
Jump on foot, climb when flying. Double-tap Space, or press V, to take off |
C or PageDown |
Descend, and land on the floor |
V |
Take off, or drop to the floor when flying inside |
Shift (hold) |
Run, or boost |
Z X |
Roll, where gravity does not set your up |
H |
Level the view |
[ ] |
Halve or double the base speed of the current mode |
Q E, , ., Home End |
Skew: orbit the point under the cursor and keep it there |
| Mouse drag | Look around |
| Mouse wheel | Move toward whatever the cursor points at |
L |
Toggle pointer-locked mouselook. L or Esc releases it |
F |
At an axis transfer chamber, move between a rotor and the stationary spine |
M |
Open the atlas: city and axis views, chapter travel, an Orbit tab, and Viewpoints |
? |
Show the keyboard shortcuts |
Near Earth, the Moon or the Sun, release the movement keys for a second and the view captures an orbit. Any movement key resumes free flight. The sun, Earth and Moon keep their true apparent sizes: Earth is 1.9 degrees across and the Moon and Sun about 0.5.
Flying out through a rotor end wall leaves the city. The rotor floor itself is solid.
Interface levels
Press U to cycle the interface: full, minimal (each card shrinks to a one-line pill) and clean (only the scene). Esc, U or the corner button bring it back. Each card also collapses with its arrow button, and your choice is remembered.
Press P at any level to save the current frame as a PNG. The interface is never in the picture. The ♫ button turns environmental sound and menu feedback on or off together. Live Time keeps the rotors and the sky moving in real time, and Reference Lighting puts the sky at a fixed baseline hour.
Share a view
The address bar always matches what you see. Use the Copy link button in the top bar to copy it, and anyone who opens the link lands in the same place. Every link starts at /explore/, and these are the parts you can combine:
| Parameter | Values | Result |
|---|---|---|
viewpoint |
an id such as artificial-sky-breakthrough |
Opens that saved view. Every id is listed on the scene atlas |
chapter |
a chapter key such as ascender |
Starts the story at that chapter |
mode |
story, explore, engineer |
Sets the mode |
overlay |
one of the twelve slugs below | Opens Engineer mode with that overlay selected |
skytime |
hours, for example 14 |
Pins the sky of Tsiolkovsky (Rotor 1) to that hour of its day |
quality |
Low, Medium, High, Ultra |
Sets the rendering quality |
ui |
full, minimal, clean |
Sets the starting interface level |
Example: /explore/?viewpoint=complete-habitat&overlay=gravity opens the exterior view with the gravity overlay. If a link has both viewpoint and chapter, the chapter wins. Unknown values are ignored.
Open in the simulation: Ascender: Artificial Sky Breakthrough Open in the simulation: A first moment of weightlessness. Open in the simulation: Gravity overlay on the whole station
The twelve overlays
In Engineer mode each overlay draws labels into the scene and puts a short explanation in the panel, with a link to the page that covers it in depth. The slug is what you put after overlay= in a link.
- Gravity (
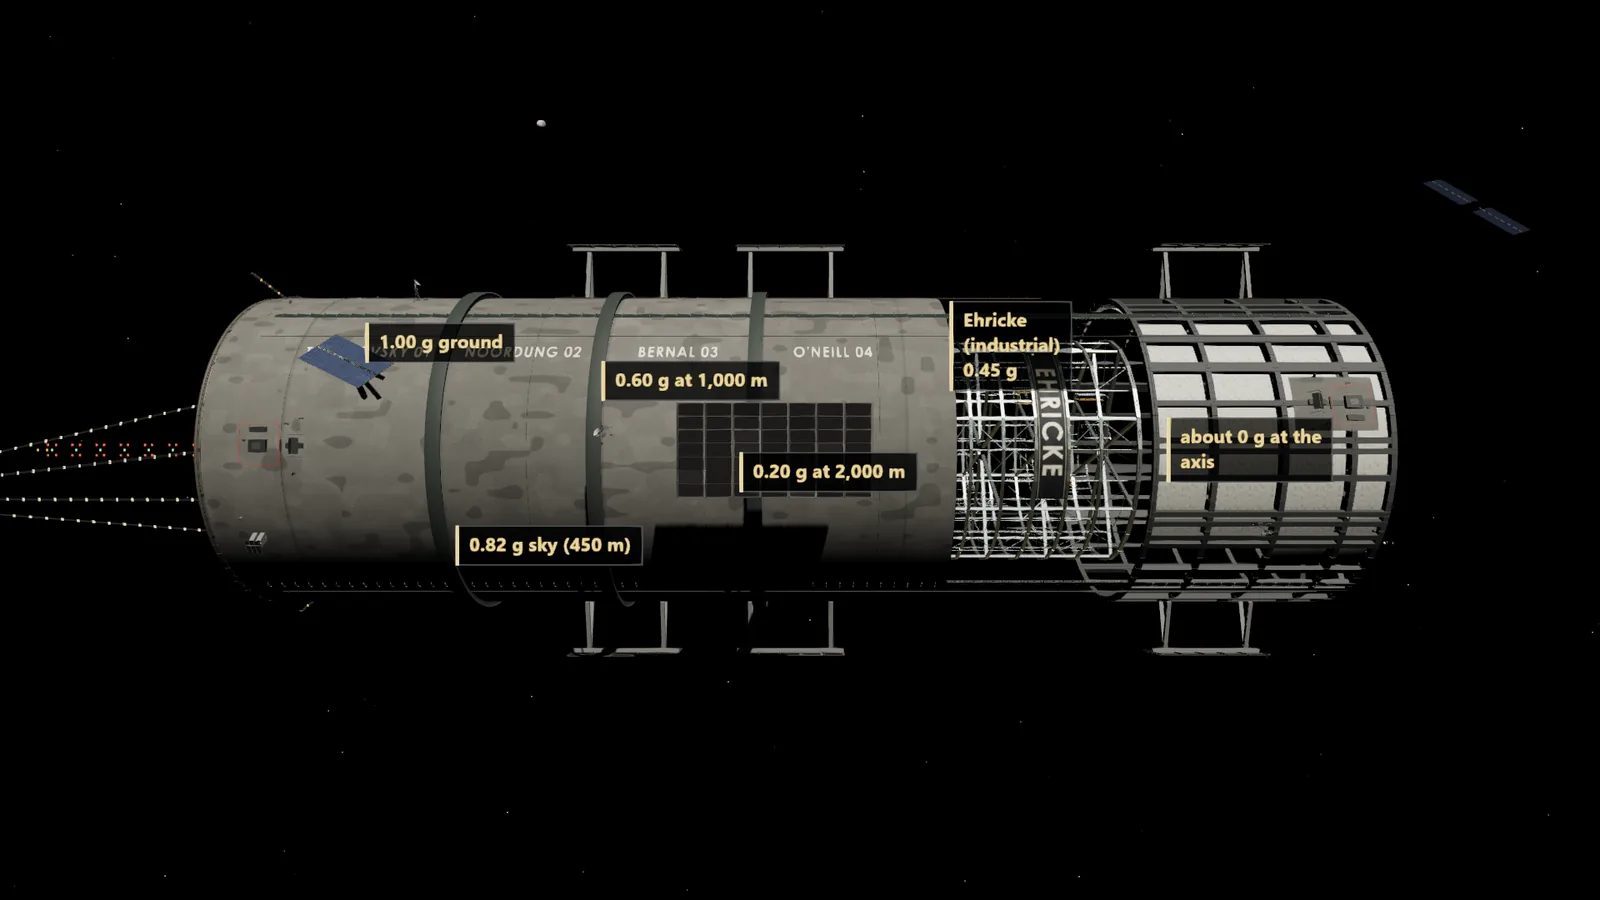
gravity): how weight falls from 1 g on the ground to zero at the axis. Open in the simulation: Open Read more. - Rotational frame (
rotational-frame): which rotors turn which way, and how fast. Open in the simulation: Open Read more. - Pressure (
pressure): where air is held and where vacuum begins. Open in the simulation: Open Read more. - Shielding (
shielding): the layers that stand between the city and space. Open in the simulation: Open Read more. - Thermal (
thermal): radiators and the couplings that carry heat out of the rotors. Open in the simulation: Open Read more. - Electrical (
electrical): the solar farm, the aft landing and the reactors. Open in the simulation: Open Read more. - Transportation (
transportation): metro, ascenders, express and the launcher. Open in the simulation: Open Read more. - Material flow (
material-flow): lunar and asteroid feedstock from stores to city and yard. Open in the simulation: Open Read more. - Structural (
structural): tension bands, the megaframe and the stationary truss. Open in the simulation: Open Read more. - Momentum (
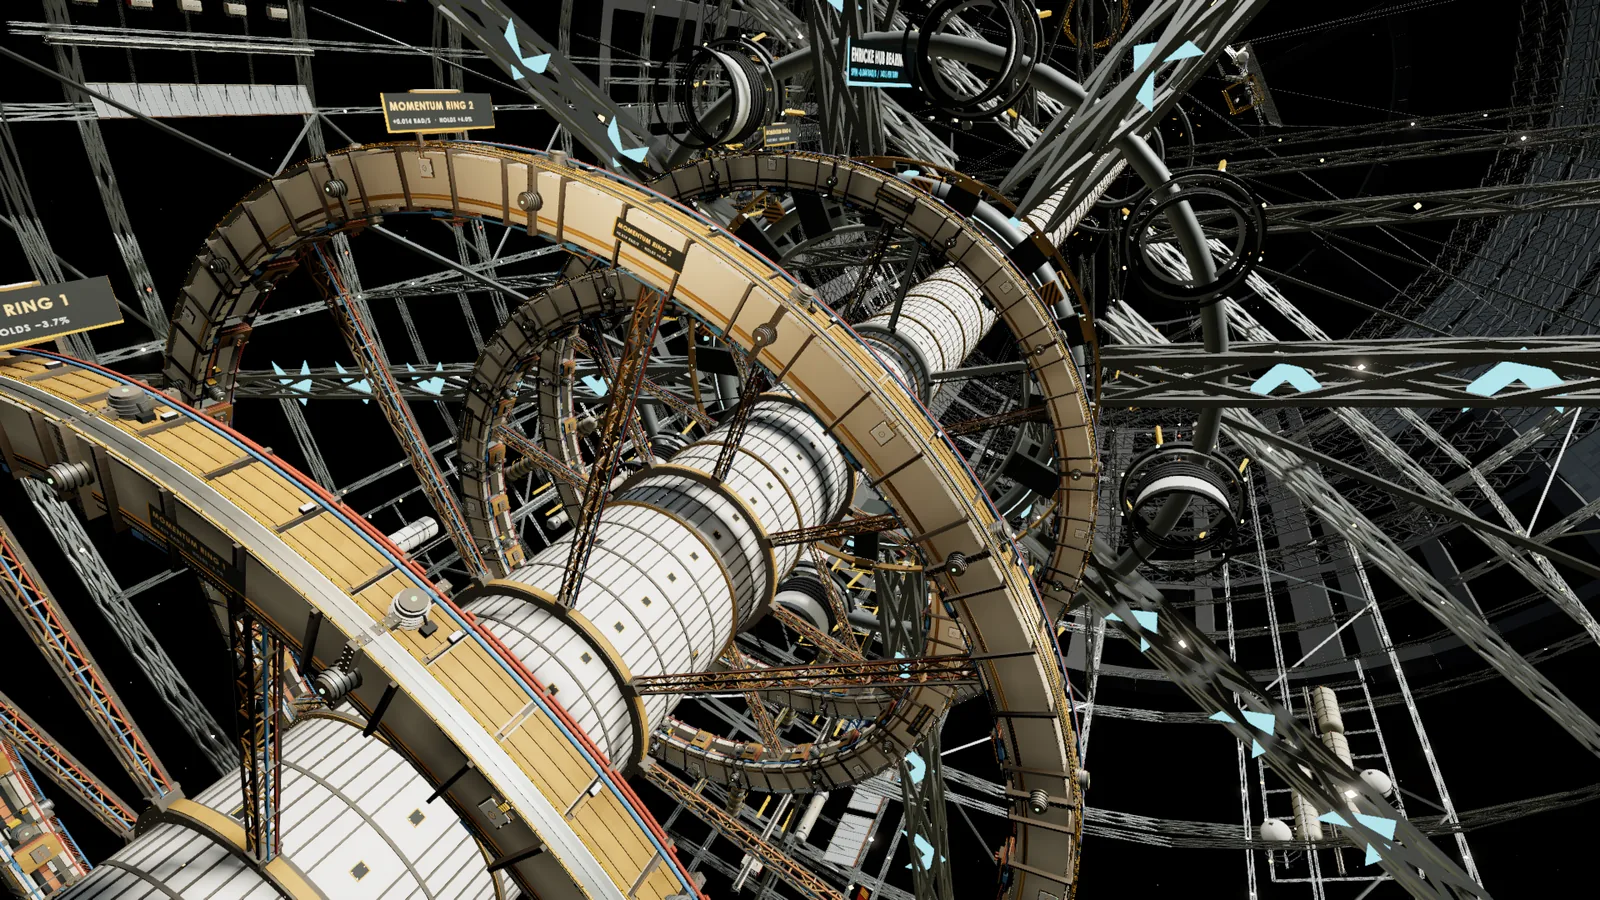
momentum): the spin pairs, the rings and the net of zero. Open in the simulation: Open Read more. - Defence (
defence): sensors, interceptors and the debris watch. Open in the simulation: Open Read more. - Satellites (
satellites): the power platforms and depots around the station. Open in the simulation: Open Read more.
If it runs slowly
The simulation draws a whole city, so it asks for a real graphics card. A laptop with integrated graphics will manage at lower settings.
- Open Engineer mode and drop the rendering quality from High to Medium or Low. The physical content stays the same. Only density, shadows and effects change. Or start there with
?quality=Low. - Lower the render resolution to 75 or 50 percent. The default, Auto, already adjusts for speed.
- Switch the interface to clean with
Uto see only the scene. - Close other tabs that use the graphics card. Video calls and other 3D pages compete for it.
On a phone or tablet, the pages on this site work everywhere, but the simulation is built for a keyboard and mouse. Dragging looks around, and the keys do the moving, so a phone can look but not walk. Use the links on these pages to open a view, and do the walking on a computer.
If the simulation does not start, it needs WebGL, which every current browser has. A message that the habitat could not initialize means WebGL is switched off or the graphics driver is out of date. Turn on hardware acceleration in the browser settings, update the browser and reload. Every view on the scene atlas also has a picture, so the places can be seen without the simulation.